A tutorial introducing how to implement the Skybox class and how it works in Away3D 4.x.
Contents
Introduction
This tutorial introduces you to the Skybox class in Away3D 4.x and a brief introduction to mapping the environment on to the surface of an object to give a mirror reflection effect. The torus object continually rotates, showing the dynamic reflection from the view around it and you can pan the camera around the torus by moving the mouse to the left or right of the centre point, increasing the panning speed the further from the centre your mouse is.

Listing 1. Basic Skybox example.
Source code.
Setting the scene
As with the previous tutorials, you need to create your View3D and set the camera properies.
stage.scaleMode = StageScaleMode.NO_SCALE;
stage.align = StageAlign.TOP_LEFT;

//setup the view
_view = new View3D();
addChild(_view);

//setup the camera
_view.camera.z = -600;
_view.camera.y = 0;
_view.camera.lookAt(new Vector3D());
To improve the overall look when using a Skybox you can increase the camera’s viewing angle to 90 degress, by adding the following line. By default, the camera is initialised with a viewing angle of 60 degrees.
_view.camera.lens = new PerspectiveLens(90);
At the end of the class constructor, you need to include the Event.ENTER_FRAMEEvent.RESIZE event listeners to render the 3D scene on each frame and respond when the window is re-sized.
//setup the render loop
addEventListener(Event.ENTER_FRAME, _onEnterFrame);
stage.addEventListener(Event.RESIZE, onResize);
onResize();
Creating the world around you
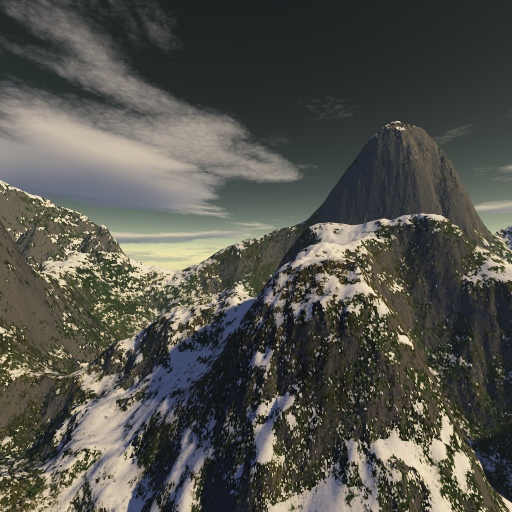
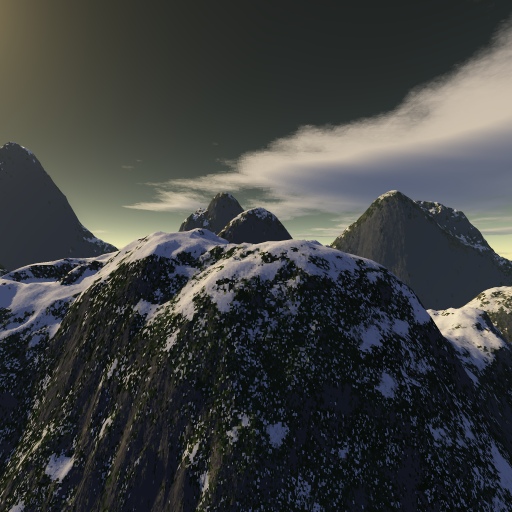
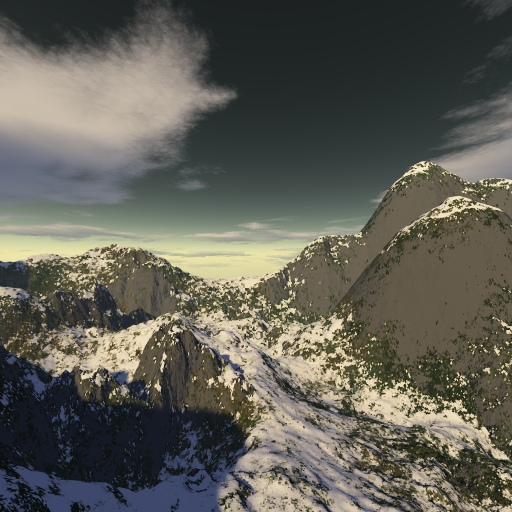
A skybox is used to provide a 3D background image for distant objects such as landscapes, horizons, sky & clouds, star-fields or other unreachbale objects. These distant objects are represented as a cube and the images are mapped on to the inside surface of that cube with the camera viewpoint being in the centre of the skybox cube.
The Skybox cube remains stationary even though the camera and viewpoint may change and so will always remain as a background in the distance.

To add the Skybox, six separate bitmap textures are required for the top, bottom, front, back, left and right sides of the cube. These bitmaps are built into a BitmapCubeTexture.

//setup the cube texture
var cubeTexture:BitmapCubeTexture = new BitmapCubeTexture(Cast.bitmapData(EnvPosX), Cast.bitmapData(EnvNegX), Cast.bitmapData(EnvPosY), Cast.bitmapData(EnvNegY), Cast.bitmapData(EnvPosZ), Cast.bitmapData(EnvNegZ));
Then it’s simply a matter of passing the cube texture into the constructor of the Skybox and adding the object to the scene, as follow.
_skyBox = new SkyBox(cubeTexture);
_view.scene.addChild(_skyBox);
Reflecting the world
You can now add the torus to your scene, so you can see how simple it can be to reflect the world around you, based on the texture mapping you have applied to your Skybox.
The material used is a basic ColorMaterial that allows you to specify all the usual lighting properties, if necessary. To make the ColorMaterial take on environment mapping, it is necessary to add an additional texturing method, the EnvMapMethod. This takes the cube texture material you used in the Skybox and apply it to your material as an environment map. The second parameter in the EnvMapMethod is the alpha value to be applied to the mapping.
//setup the environment map material
var material:ColorMaterial = new ColorMaterial();
material.addMethod(new EnvMapMethod(cubeTexture, 1));
Finally the torus can be constructed and added to the scene.
//setup the scene
_torus = new Mesh(new TorusGeometry(150, 60, 40, 20), material);
_view.scene.addChild(_torus);
A limitation of environment mapping is that it does not take any other scene objects into consideration when creating the reflection as it relies solely on the cube texture provided. Calculating reflections of other objects in the scene dynamically is a significantly harder and more processor intensive task.
Conclusion
This tutorial has introduced you to using the Skybox capabilities of Away3D 4.x to add a level of depth/background, to your scenes. Rather than trying to construct vast amounts of geometry, sky boxes have the advantage of being extremely simple and performant whilst still giving the impression of realism.
Also, you had a very quick introduction to creating an object with an environment map, reflecting the view of the sky box across the object’s surface.