The Away3D Introduction to Materials tutorial will bring to you some of the basic principles of materials and shading in Away3D 4.x.
Contents:
Introduction
In this tutorial you will be introduced to the incredibly powerful texturing system within Away3D, which allows you to create stunningly realistic lighting and shading in you scene. The example has a number of primitive objects that are textured in different ways, demonstrating how you can achieve this realism. As a slight aside from the main example, there are three sub-examples which show each of the primitives along with how each aspect of the texturing affects the way it looks. The final scene sees all these objects together with multiple light sources.

Listing 1. Basic Shading example.
Source code.
Setting the scene
The main example in this tutorial contains a ground floor plane and three different primitive geometry meshes hovering above it. At sphere, a cube and a torus.
To get a good look at your objects, this example uses a HoverController which allows you to simply move the camera around a point using pan, tilt and distance properties. Coupled with this is a number of properties which constrain the limits of movement. In this case minTiltAngle and maxTiltAngle are used to stop the camera rising to high or droping beneath the floor.
All of this setup is contained in the initEngine() method.
scene = new Scene3D();

camera = new Camera3D();

view = new View3D();
view.antiAlias = 4;
view.scene = scene;
view.camera = camera;

//setup controller to be used on the camera
cameraController = new HoverController(camera);
cameraController.distance = 1000;
cameraController.minTiltAngle = 0;
cameraController.maxTiltAngle = 90;
cameraController.panAngle = 45;
cameraController.tiltAngle = 20;

view.addSourceURL("srcview/index.html");
addChild(view);
Let there be light
To add any kind of shading or highlighting to your scene/objects you need some form of light source. One of the light sources Away3D 4.x provides is the DirectionalLight. This type of light does not have a concept of location, only direction. As such, the constructor or the direction property is used to define the angle the light is emminating from. The light from a DirectionalLights has a constant intensity, meaning that it makes no difference how far an object is away from the light source, it will be illuminated in the same way.
Away3D also has a PointLight class where the light intensity does fall off over distance and the light emminates in every direction from it’s location, however they are not used in this example.
The main example has two DirectionalLight objects, one of which is white and slowly rotates around the scene whilst the other is stationary and has a cyan colour.
direction and color are not the only properties of Away3D light obejcts. Here are a few others that are commonly used.
ambient |
The ambient strength of the light. This can be seen as the minimum lighting the object texture will have. |
diffuse |
The diffuse strength of the bitmap texture being illuminated. Changing this alters how intense the colors of the bitmap texture appear. |
specular |
The specular strength of the light. This adjusts the specular highlights on your model changing the glossiness/shininess of specific areas. This is demonstrated later. |
light1 = new DirectionalLight();
light1.direction = new Vector3D(0, -1, 0);
light1.ambient = 0.1;
light1.diffuse = 0.7;

scene.addChild(light1);

light2 = new DirectionalLight();
light2.direction = new Vector3D(0, -1, 0);
light2.color = 0x00FFFF;
light2.ambient = 0.1;
light2.diffuse = 0.7;

scene.addChild(light2);

lightPicker = new StaticLightPicker([light1, light2]);
Once you have constructed your lights, as with other objects, they need adding to the scene. Although added, they are visible entities but do impact how other objects are rendered. Should you need to see a representation of your light, you would need to manually add a object and position it at the same coordinates as your light object.
One final thing that you need to do to ensure lights are ready for use is to define a light picker. Here you use a StaticLightPicker. The purpose of the light picker is to act as a collection of lights used to affect the rendering of an object. This allows groups of light sources to act on specific objects as required.
Texturing the sphere
This is a little departure from the main example and focusses on the sphere object. The sphere texturing is made up of a bitmap representing the colours of of the spheres surface and a specular map that alters the light spot reflectivness of the surface.
Here are the images used for the diffuse texture and the specular map. Click on each for a larger view.
Images are mapped onto the surface of the objects using the standard UV coordinate system. Triangles in the object, as well as having X,Y & Z coordinates for the 3 vertices also contain U & V coordinates for each vertex, in the range of 0-1 that define the location in the bitmap where the colour information is to be taken from. The top-left of the bitmap is the UV coordinate 0,0 whilst the bottom-right of the image is UV coordinate 1,1.
This example demonstrates the sphere object in various textured states. Initially, the object is untextured and uses the default texture. Clicking on the scene will progress to the next level of texturing - applying the diffuse bitmap texture. Clicking again will then apply the specular map. A subsequent click will start the cycle again. This will allow you to see the impact of applying the various texturing on the object.
The default texture is a simple black and white checkerboard image which is displayed if no texture is provided for your mesh.
Applying the diffuse texture shows the colours in the above bitmap.
When you apply the specular map, the impact is very subtle and may not be easily visible immediately. The image below show the differences, but the following examples demonstrate the effect more dramatically.


Listing 2. Texturing the sphere.
Source code.
Texturing the cube
Similarly, texturing the cube has a diffuse bitmap and a specular map but also has an additional normal map. A normal map contains information that describes the angle of the surface normal and as it’s described from the normal map, it has the resolution of the bitmap rather than the coarse mesh. This normal information is taken into consideration in the shader program to alter the illumination of the surface based on the direction of the lights in the scene.
Here are the images for the cube texturing.
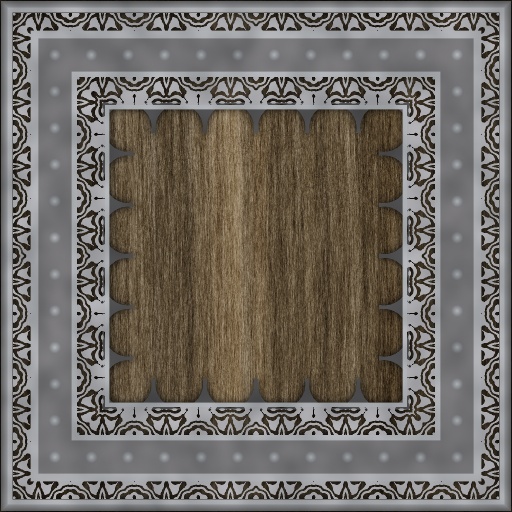
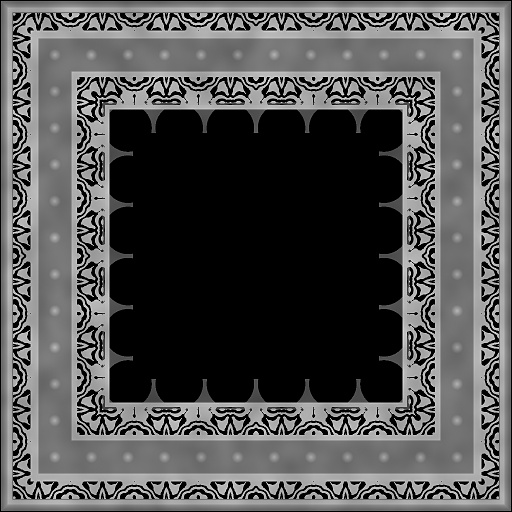
Again, clicking the images reveals the addtional texture parts. Starting with no texture -> diffuse texture -> diffuse with specular map -> diffuse with specular and normal mapping.
This example demonstrates the specular mapping a little better. If you look at the top side of the cube with the diffuse only and then diffuse with specular you can clearly see the specular highlights come through.


Listing 3. Texturing the cube.
Source code.
Texturing the torus
The final object, the torus, again makes use of a diffuse bitmap texture, a specular map and a normal map. The only real difference with this texturing is the use of the repeating pattern. The specular map in this case, is set to the same as diffuse map.


Clicking through the texture modes below show no texture -> diffuse only -> repeated diffuse (10 time horizontally and 5 times vertically) -> diffuse with specular map -> diffuse with specular and normal maps.
Whilst looking at the torus, in diffuse only mode, with the light source in front, it is visible over the white and black areas of the pattern. Quickly clicking the mouse, to add the specular map, you can see how the dark areas loose the light but the whiter areas maintain the specular reflection.

Listing 4. Texturing the torus.
Source code.
Putting it all together
Now that you have seen each of the main textured objects, lets combine them together in the scene and see how they look with the multiple light sources youe created earlier.
Here is the material setup code.
/**
 * Initialise the materials
 */
private function initMaterials():void
{
 planeMaterial = new TextureMaterial(Cast.bitmapTexture(FloorDiffuse));
 planeMaterial.specularMap = Cast.bitmapTexture(FloorSpecular);
 planeMaterial.normalMap = Cast.bitmapTexture(FloorNormals);
 planeMaterial.lightPicker = lightPicker;
 planeMaterial.repeat = true;
 planeMaterial.mipmap = false;

 sphereMaterial = new TextureMaterial(Cast.bitmapTexture(BeachBallDiffuse));
 sphereMaterial.specularMap = Cast.bitmapTexture(BeachBallSpecular);
 sphereMaterial.lightPicker = lightPicker;

 cubeMaterial = new TextureMaterial(Cast.bitmapTexture(TrinketDiffuse));
 cubeMaterial.specularMap = Cast.bitmapTexture(TrinketSpecular);
 cubeMaterial.normalMap = Cast.bitmapTexture(TrinketNormals);
 cubeMaterial.lightPicker = lightPicker;
 cubeMaterial.mipmap = false;

 var weaveDiffuseTexture:BitmapTexture = Cast.bitmapTexture(WeaveDiffuse);
 torusMaterial = new TextureMaterial(weaveDiffuseTexture);
 torusMaterial.specularMap = weaveDiffuseTexture;
 torusMaterial.normalMap = Cast.bitmapTexture(WeaveNormals);
 torusMaterial.lightPicker = lightPicker;
 torusMaterial.repeat = true;
}
Here is the object creation code.
/**
 * Initialise the scene objects
 */
private function initObjects():void
{
 plane = new Mesh(new PlaneGeometry(1000, 1000), planeMaterial);
 plane.geometry.scaleUV(2, 2);
 plane.y = -20;

 scene.addChild(plane);

 sphere = new Mesh(new SphereGeometry(150, 40, 20), sphereMaterial);
 sphere.x = 300;
 sphere.y = 160;
 sphere.z = 300;

 scene.addChild(sphere);

 cube = new Mesh(new CubeGeometry(200, 200, 200, 1, 1, 1, false), cubeMaterial);
 cube.x = 300;
 cube.y = 160;
 cube.z = -250;

 scene.addChild(cube);

 torus = new Mesh(new TorusGeometry(150, 60, 40, 20), torusMaterial);
 torus.geometry.scaleUV(10, 5);
 torus.x = -250;
 torus.y = 160;
 torus.z = -250;

 scene.addChild(torus);
}
Conclusion
In this tutorial you have been introduced to the basic materials and texturing available in Away3D, and seen how by using specular maps, normal maps and lighting you can create amazingly realistic creations with minimal effort.